Padding 공부하기 링크
HTML/CSS 공부하기 : Padding
박스모델를 공부하면서 간단하게 Padding 그리고 margin에 대해서 알아보았다. https://awesomek.tistory.com/entry/HTML-%EA%B3%B5%EB%B6%80%ED%95%98%EA%B8%B0-Box-Model-%EC%9D%98-%EC%9D%B4%ED%95%B4?category..
awesomek.tistory.com
실습은 위 링크에서 사용했던 코드로 진행
<!DOCTYPE html>
<html>
<head>
<title>Box Model</title>
<meta charset="utf-8">
<style>
h1 {
border: 5px solid blue;
}
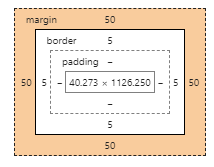
.tag1 {
border: 5px solid blue;
padding :30px 50px;
</style>
</head>
<body>
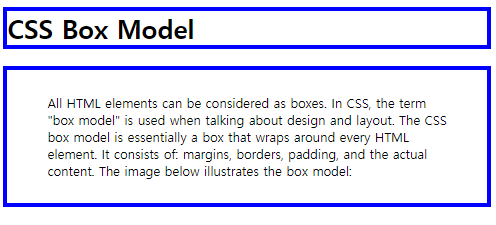
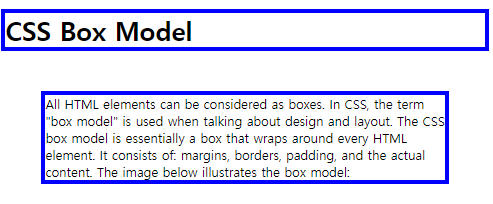
<h1> CSS Box Model </h1>
<p class="tag1">All HTML elements can be
considered as boxes. In CSS, the term "box model" is used
when talking about design and layout.
The CSS box model is essentially a box that wraps around every HTML element.
It consists of: margins, borders, padding, and the actual content.
The image below illustrates the box model:</p>
</body>
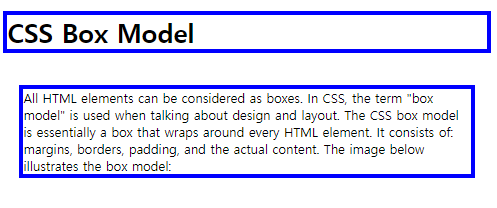
</html>Margin 설정하기
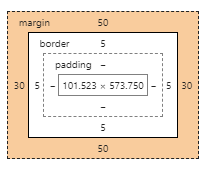
tag1 클래스로 Margin 설정
Margin도 마찬가지로 padding과 동일하게 상하좌우 설정한 값대로 조정되었다.
	<style>
		h1 {
			border: 5px solid blue;
				}

		.tag1 {
			border: 5px solid blue;
			margin-top : 50px;
			margin-bottom: 50px;
			margin-left: 30px;
			margin-right: 30px;
	</style>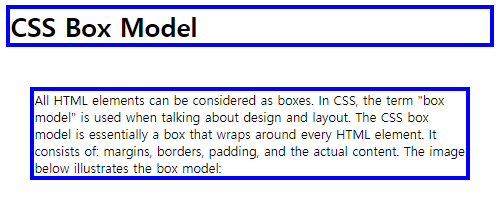
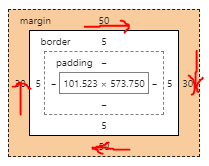
Margin도 Padding과 같이 top, bottom, right, left를 적어서 할 필요 없이 한줄로 설정이 가능
Padding/Margin : 시계방향으로 위부터 값을 넣어주면 된다.
값은 역시나 위랑 똑같이 나온다

위아래 좌우를 다 동일하게 50px로 설정하려면 margin : 50px로 작성하면된다.

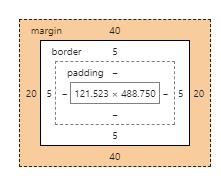
위 아래는 40px, 좌우는 20px로 설정 (위아래 동일, 좌우 동일 시)
margin : 40px 20px;

'IT > @HTML' 카테고리의 다른 글
| HTML/CSS 공부하기 : border (4) | 2020.03.20 |
|---|---|
| HTML/CSS 공부하기 : overflow (1) | 2020.03.15 |
| HTML/CSS 공부하기 : Padding (0) | 2020.03.10 |
| HTML/CSS 공부하기 : Box Model 의 이해 (2) | 2020.03.09 |
| JavaScript 공부하기 : 간단한 알림창 띄우기 (0) | 2020.03.04 |


댓글